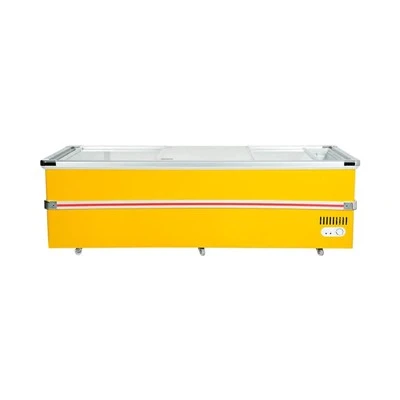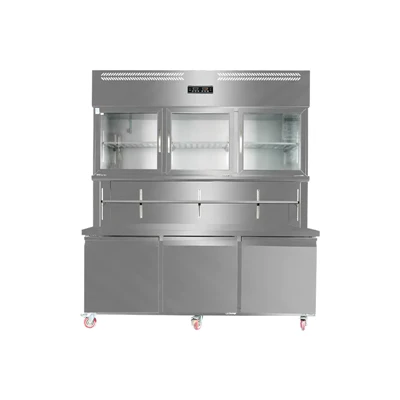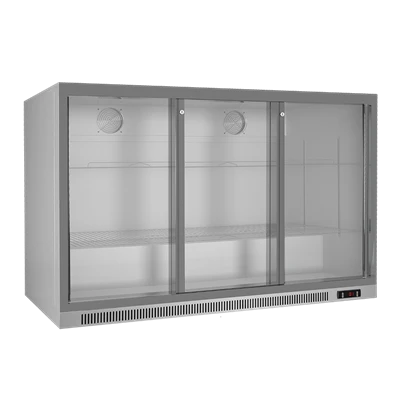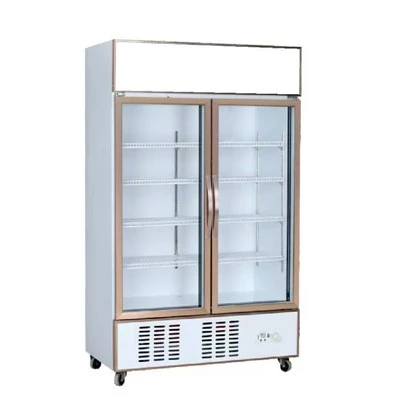

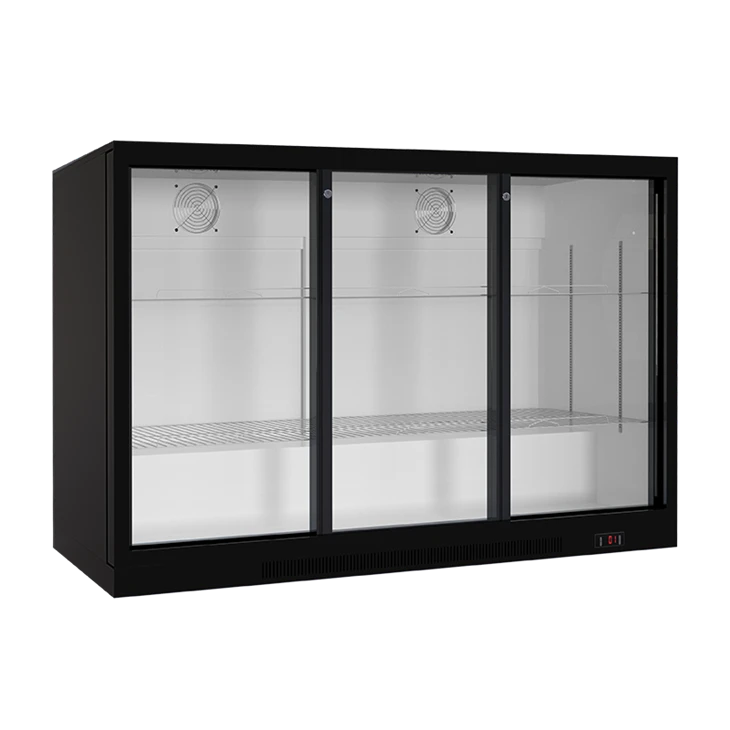
Hey there, folks! I'm a supplier of the awesome Triple Sliding Door Beer Cooler, and I've seen a bunch of questions floating around about how to secure these coolers to the floor. You know, a properly secured cooler is super important for a long - lasting and safe operation. So, let's dive right in and go through the steps on how you can do this.
Why Secure Your Triple Sliding Door Beer Cooler to the Floor?
First off, you might be wondering why it's necessary to secure the cooler in the first place. Well, there are a few good reasons. For one, a triple sliding door beer cooler is a big unit, and it can be pretty heavy when it's loaded with all those cold brews. Without proper securing, there's a risk that it could tip over, especially if someone accidentally bumps into it. This can cause damage not only to the cooler itself but also to the beers inside and even the floor or surrounding area.
Another reason is stability. When the cooler is secured to the floor, it won't wobble around when you're opening and closing those sliding doors. This is important because a wobbly cooler can lead to issues with the door alignment over time, which might make it harder to open and close the doors smoothly. And let's face it, nobody wants to struggle with a temperamental cooler door when they're just trying to grab a cold one!
Tools and Materials You'll Need
Before you start the securing process, you'll need to gather a few tools and materials. Here's a quick list:
- Drill: A good - quality drill will be your best friend for this job. You'll use it to make holes in the floor for the fasteners.
- Screws or Bolts: The type you choose will depend on the type of floor you have. For a concrete floor, you'll need concrete screws or bolts. For a wooden floor, regular wood screws should do the trick. Make sure they're long enough to provide a strong hold.
- Washers: These are important to prevent the screws or bolts from pulling through the cooler's base.
- Level: A level will help you make sure the cooler is sitting straight before you secure it. This is crucial for the proper functioning of the sliding doors.
Step - by - Step Guide to Securing the Cooler
Step 1: Choose the Right Location
The first step is to find the perfect spot for your triple sliding door beer cooler. You want a location that's flat, dry, and away from direct sunlight. Also, make sure there's enough space around the cooler for proper ventilation. Once you've found the spot, use your level to check if the floor is completely flat. If it's not, you might need to use shims to level the cooler before securing it.
Step 2: Prepare the Cooler
Before you start drilling into the floor, you need to prepare the cooler. Move it to the desired location and make sure the sliding doors are all closed. You might want to remove any loose items inside the cooler to prevent them from getting damaged during the installation process.
Step 3: Mark the Holes
Take a close look at the base of the cooler. Most coolers have pre - marked holes or spots where you're supposed to attach it to the floor. Place the cooler in position and use a pencil or a marker to mark these spots on the floor. If there aren't any pre - marked spots, you'll need to figure out the best locations for the holes yourself. Make sure to space them evenly around the base of the cooler for maximum stability.
Step 4: Drill the Holes
Now it's time to break out the drill. If you're working on a concrete floor, you'll need a masonry drill bit. For a wooden floor, a regular wood drill bit will work. Start slowly and drill the holes at the marked spots. Make sure the holes are deep enough to accommodate the screws or bolts you're using.
Step 5: Insert the Fasteners
Once you've drilled the holes, insert the washers onto the screws or bolts. Then, carefully place the cooler back over the holes and insert the fasteners through the base of the cooler and into the holes in the floor. Use a wrench or a screwdriver to tighten the fasteners. Make sure not to over - tighten them, as this could damage the base of the cooler.
Step 6: Check for Stability
After you've secured the cooler to the floor, give it a gentle shake to check for stability. It shouldn't move or wobble at all. If it does, you might need to tighten the fasteners a bit more or double - check that the holes are in the right places.
Other Cooler Options You Might Consider
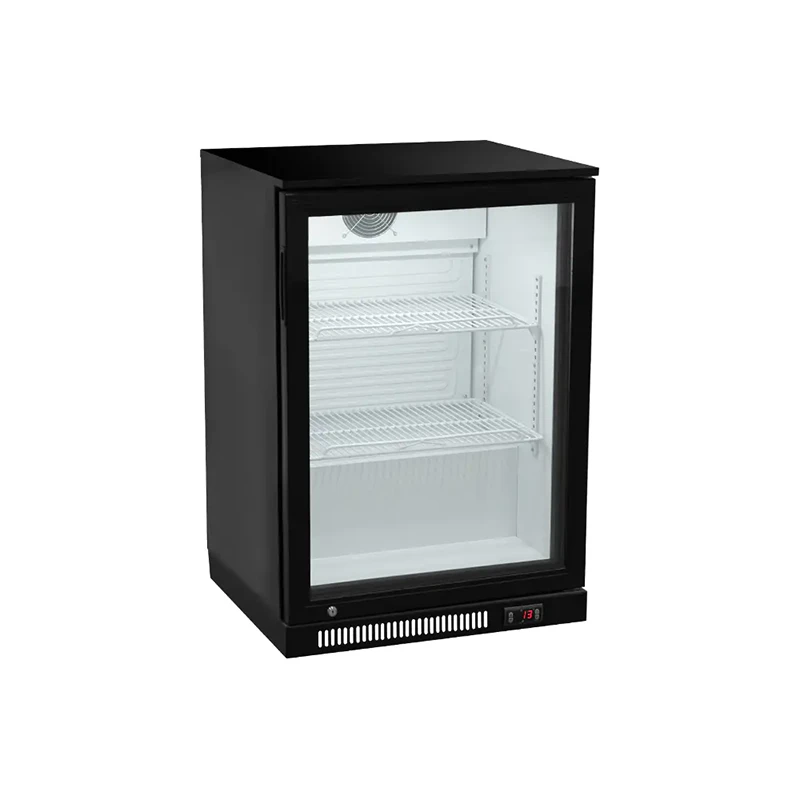
If the triple sliding door beer cooler isn't quite what you're looking for, we also offer some other great options. For instance, our Single Door Back Bar Cooler is a great choice for those with limited space or a smaller inventory of beers. It's compact but still packs a punch when it comes to keeping your brews cold.
We also have the Single Back Bar Cooler Stainless Steel. This one not only looks sleek with its stainless - steel exterior but also offers excellent insulation to keep the temperature consistent.
If you need a bit more storage space but don't want to go all the way to a triple - door cooler, our Double Sliding Door Back Bar Cooler or 2 Door Back Bar Cooler could be the perfect fit. They offer more room than a single - door cooler but are still more manageable in size compared to the triple - door option.
Wrapping It Up and Reaching Out
Well, there you have it - a complete guide on how to secure a triple sliding door beer cooler to the floor. By following these steps, you can ensure that your cooler stays safe, stable, and in great working condition for years to come.
If you're interested in purchasing a triple sliding door beer cooler or any of our other great products, we'd love to hear from you. Just reach out for a chat about your needs, and we'll work together to find the perfect solution for you. Whether you're a small bar owner or running a big - time restaurant, we've got the coolers to suit your business.
References
- General knowledge on appliance installation and maintenance
So, don't hesitate to drop us a line and start the conversation about finding the best beer cooler for you!